
Working with leather is far from easy. You need to be extra careful when cutting, because natural leather presents a lot of imperfections, specks, holes and uneven thickness. Also, any hole you puncture is permanent. Of course, there are tricks, and you can even unpick an ugly looking stitching, and redo it, but better plan your steps in advance.


So my first bag was a transition from something familiar. I used lambskin left-overs and assembled a patchwork bag.
Aligning patchwork stitches was so complicated, that probaby, I won't be doing it ever again. Also, lambskin is prone to dirtying very quickly.
So this handbag from vegetable-tanned leather was the second thing I came up with:
It was much more fun to work with. The only problem I had was with one of the handles, that I must have cut from the belly part of the hide, so when it was shaped in U-form - it wrinkled.
Also, I should have used a double-zipper.
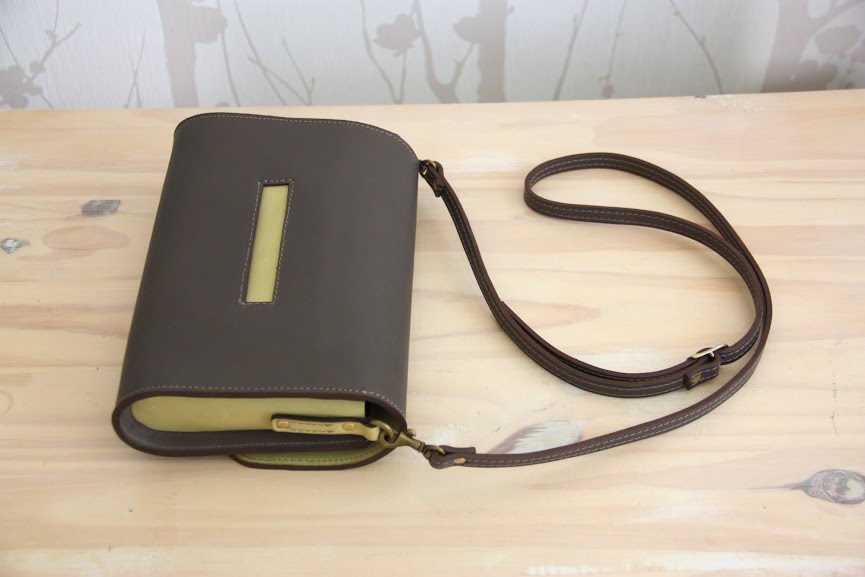
Then came a handbag for winter, and two cross-bodies, one for summer clothing, the other for winter.
The handles on the big baranil handbag were very interesting to make, the end parts are inserted into "windows".
Inside, there's a grosgrain binding on all visible seams. It's a super tricky operation as well, because you stitch without a tabletop, holding the bag basically in the air, and at the same time, you pull the binding around the seam as you stitch alongside the previous stitching.
Afterwards, this cross-body felt so easy to make, even though I made a mistake with the magnetic fastener, and had to unglue the lining. Aargh! But actually, it is very easy to unglue with the hot glazer iron.
A little backside pocket highlighted with green leather:
The body makes one with the flap, so the two linings pieces are stitched together prior to gluing.
A simple tote:
And last, but not least, a notebook cover:
No comments:
Post a Comment